Photo editor basics
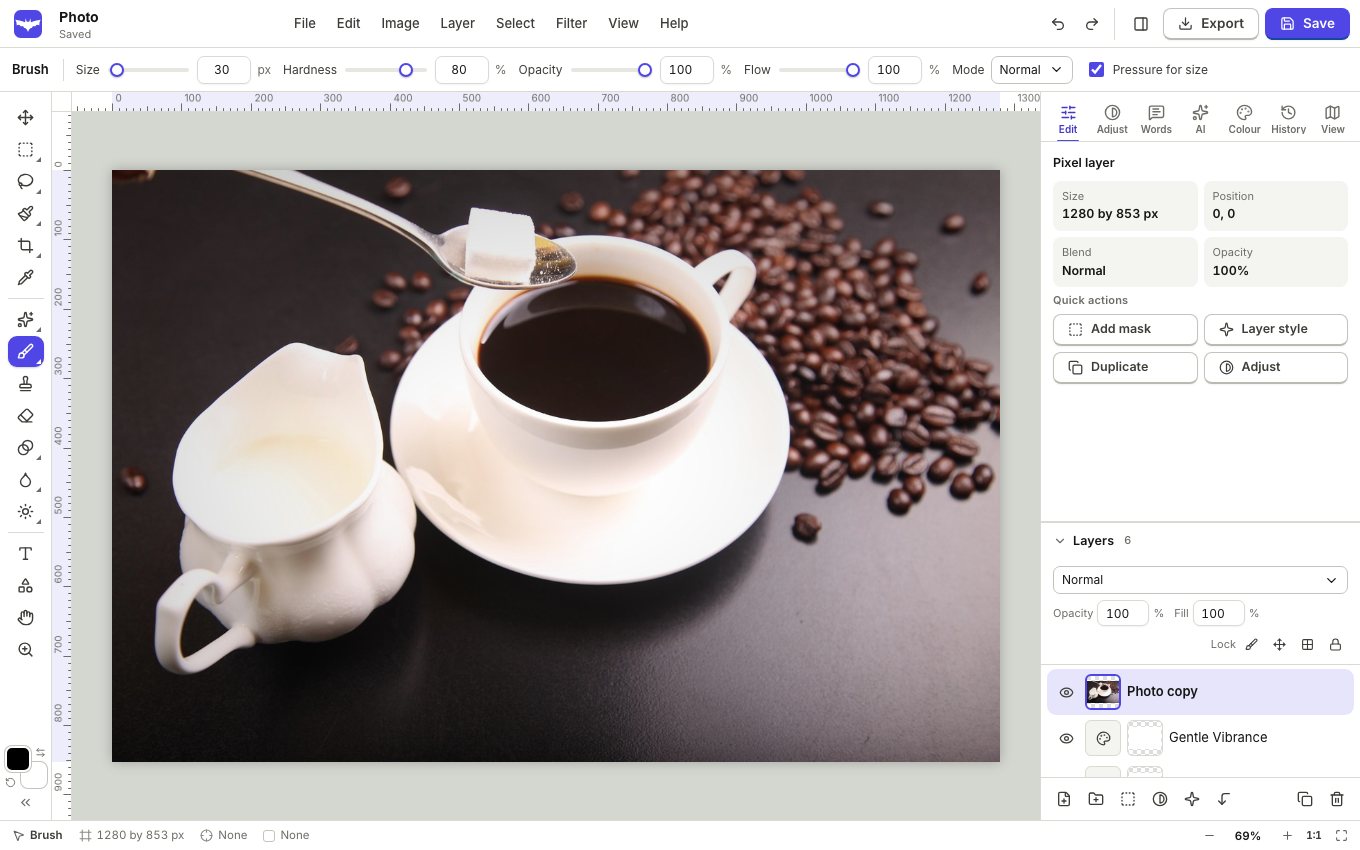
The photo editor works like a desktop photo app: layers, masks, selections, adjustment layers, filters and retouching tools, saved as a photo project you can come back to.
Open a photo
- On My designs, click Edit a photo to open a PNG, JPG, TIFF, PSD or other image, or Photo project to start empty.
- From a design, select a photo and choose Edit in the photo editor. When you are done, File, Done, back to the design puts the result back.
Adjust without changing the original
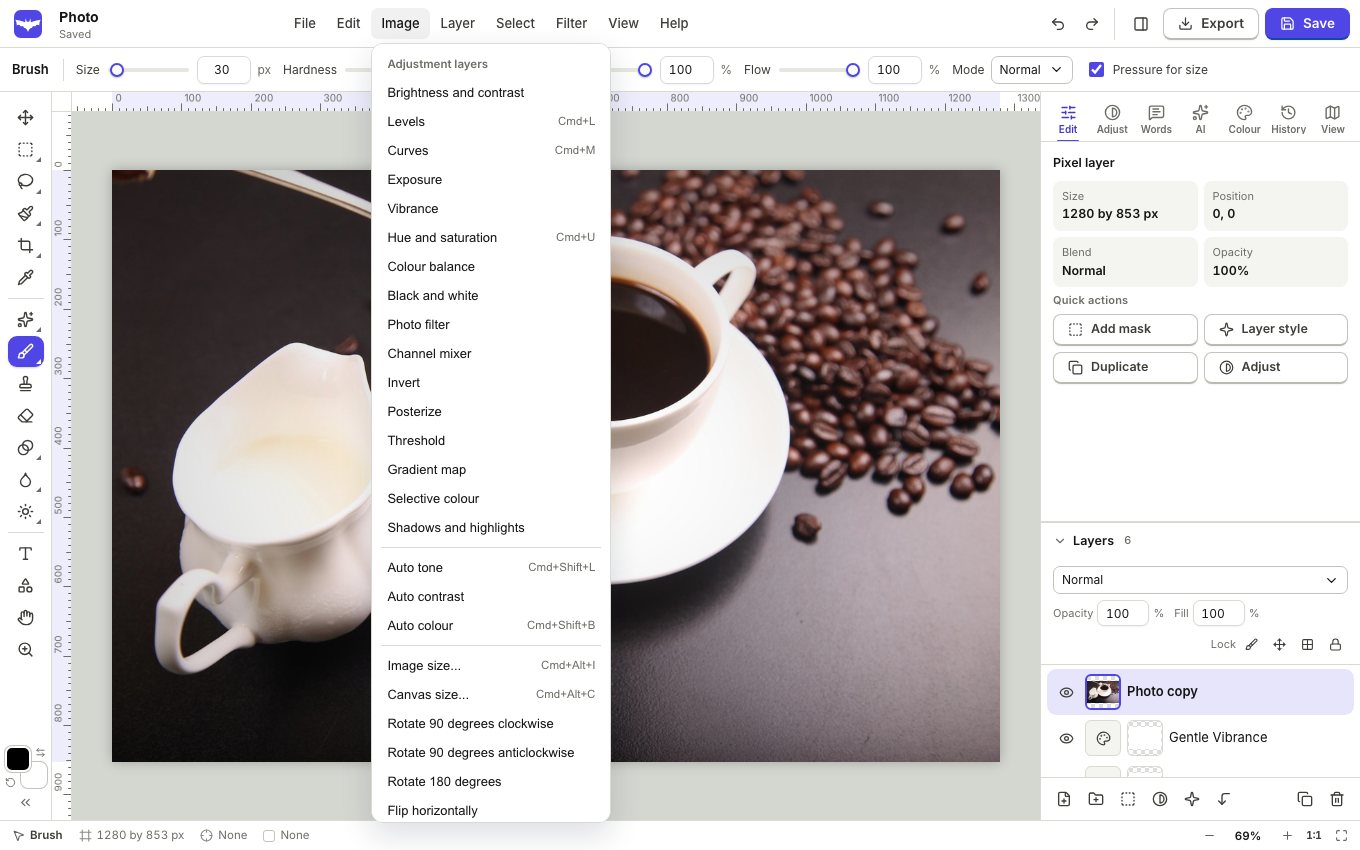
Adjustment layers change the look of everything below them and can be changed or removed at any time.
- Open the Image menu and pick an adjustment, such as Levels, Curves, Vibrance or Hue and saturation.
- Move the sliders in the panel on the right.
- Lower the layer's opacity to make the change gentler, or paint on its mask to limit it to one area.
Filters
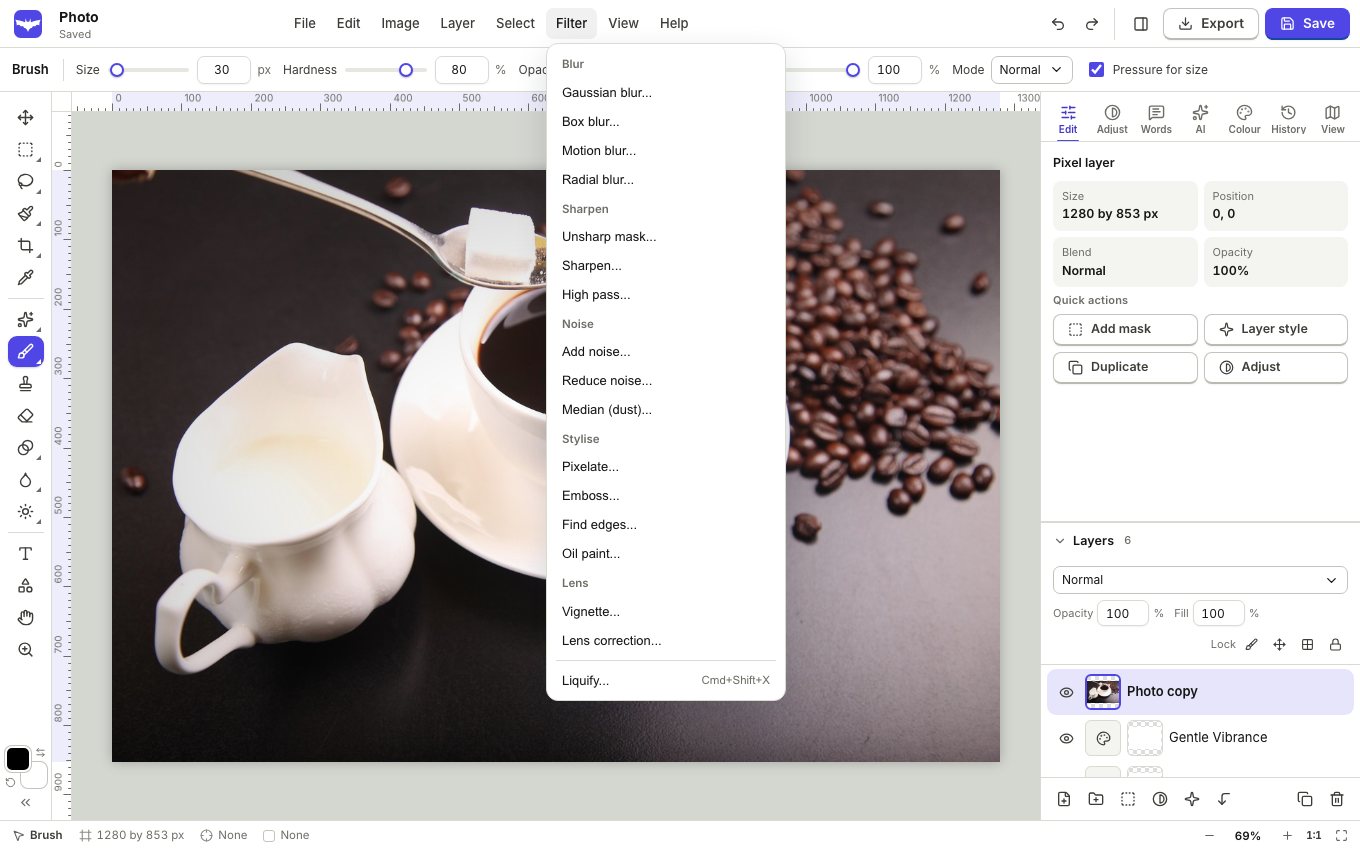
The Filter menu has blur, sharpen, noise, pixelate, emboss, oil paint, vignette and lens correction. A filter changes the pixels of the active layer (inside the selection when there is one), so duplicate the layer first if you want to keep the original.
Select and retouch
- Use the selection tools on the left, or Select, Subject to select the main subject in one click.
- Select, By description selects things you name, like "the sky".
- Fill a selection from its surroundings with Edit, Fill from surroundings to remove small things.
- Save with Save, or export PNG, JPG, WebP, TIFF or PSD with Export.
Everything you do is in History on the right: click an earlier step to go back to it.