The design editor
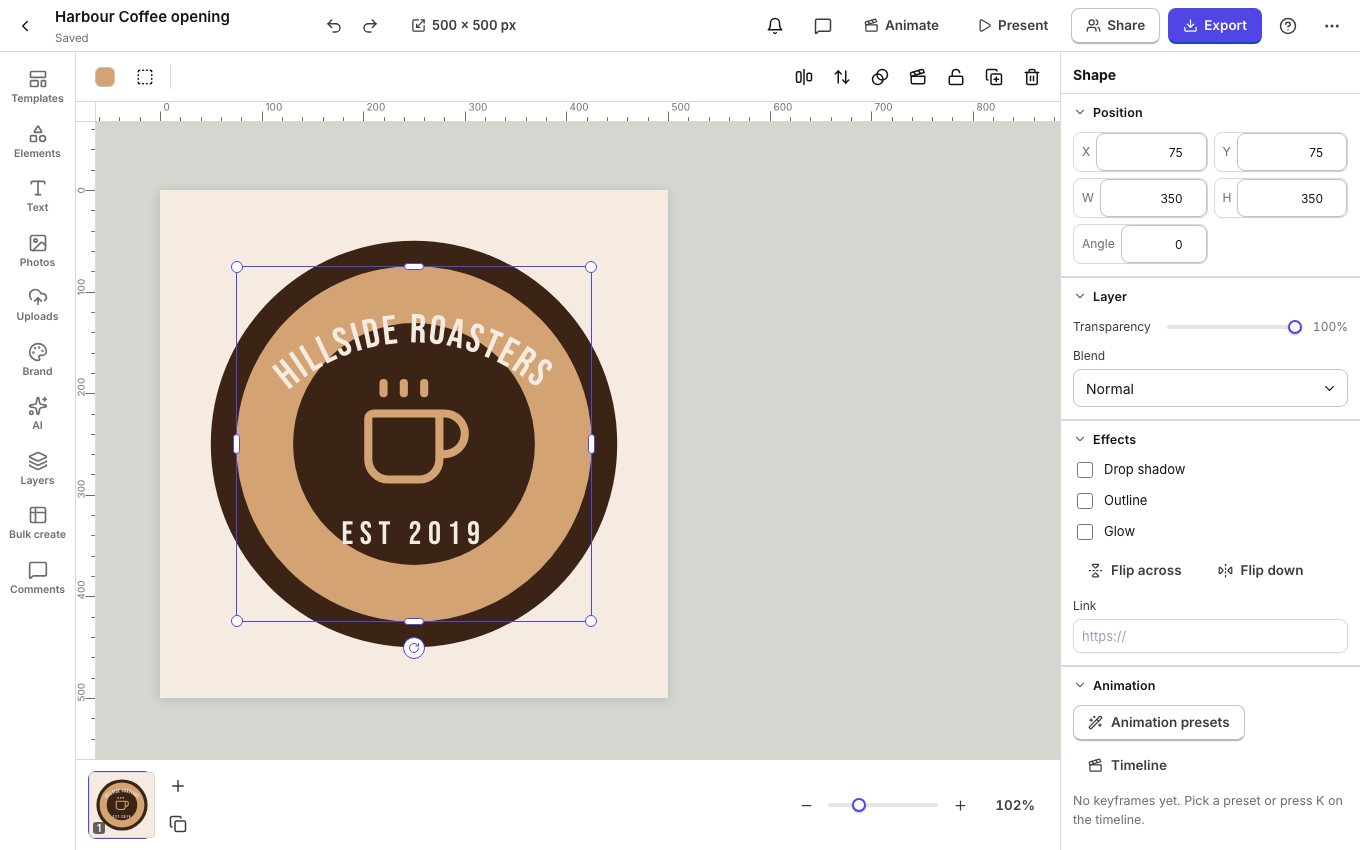
The design editor has the tools on the left, your page in the middle, and the properties of what you selected on the right.
Find your way around
The left rail opens panels: Templates, Elements, Text, Photos, Uploads, Brand, AI, Layers, Bulk create and Comments. The top bar has the name of the design, undo and redo, the size (click it to resize), Animate, Present, Share, Export and the Help menu.
Add text
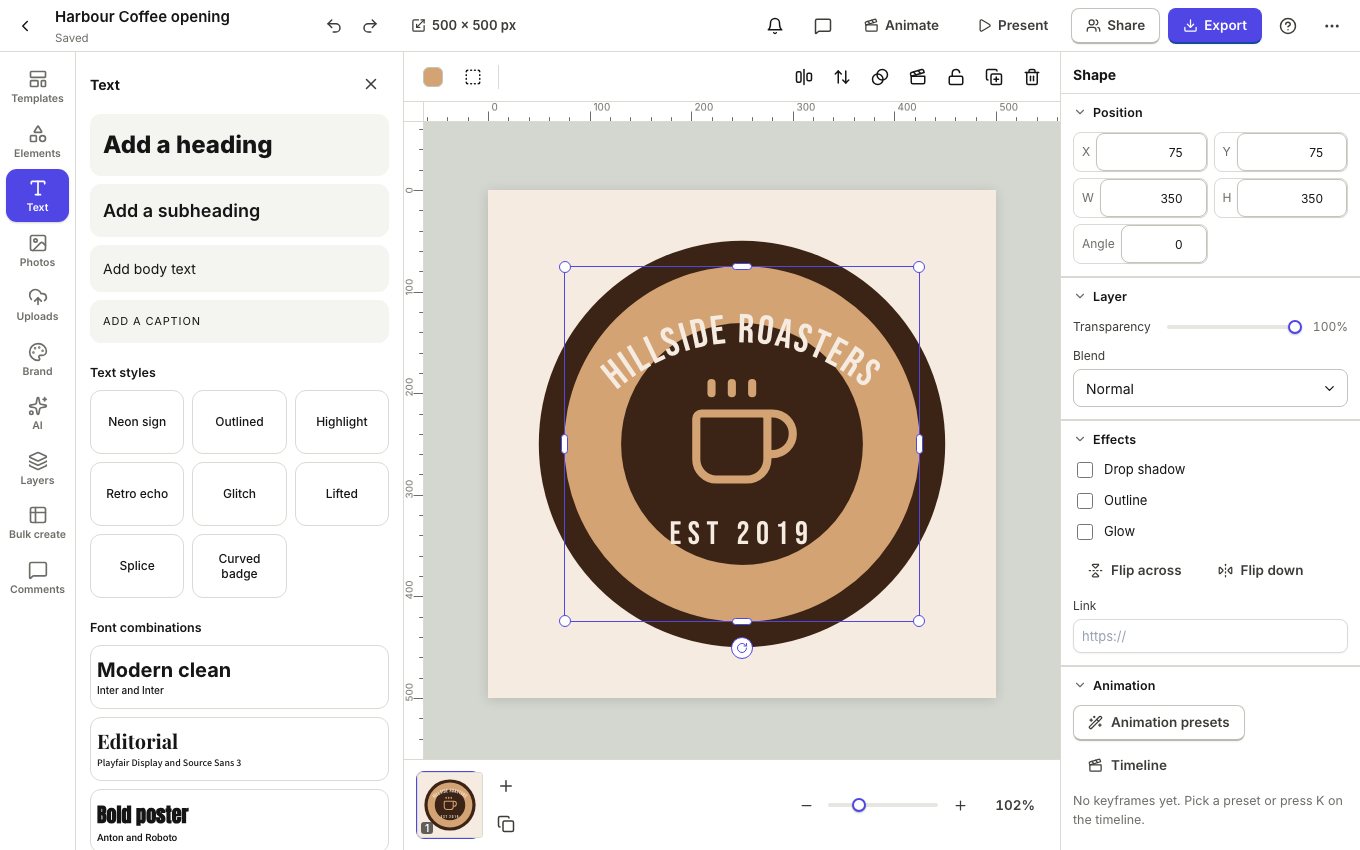
- Open Text in the left rail.
- Click Add a heading, Add a subheading or Add body text, or one of the ready made text styles.
- Double click the text on the page to type. Select words to make them bold, italic or a different colour.
- Change the font, size, spacing and effects in the properties panel on the right.
Add shapes, icons, photos and more
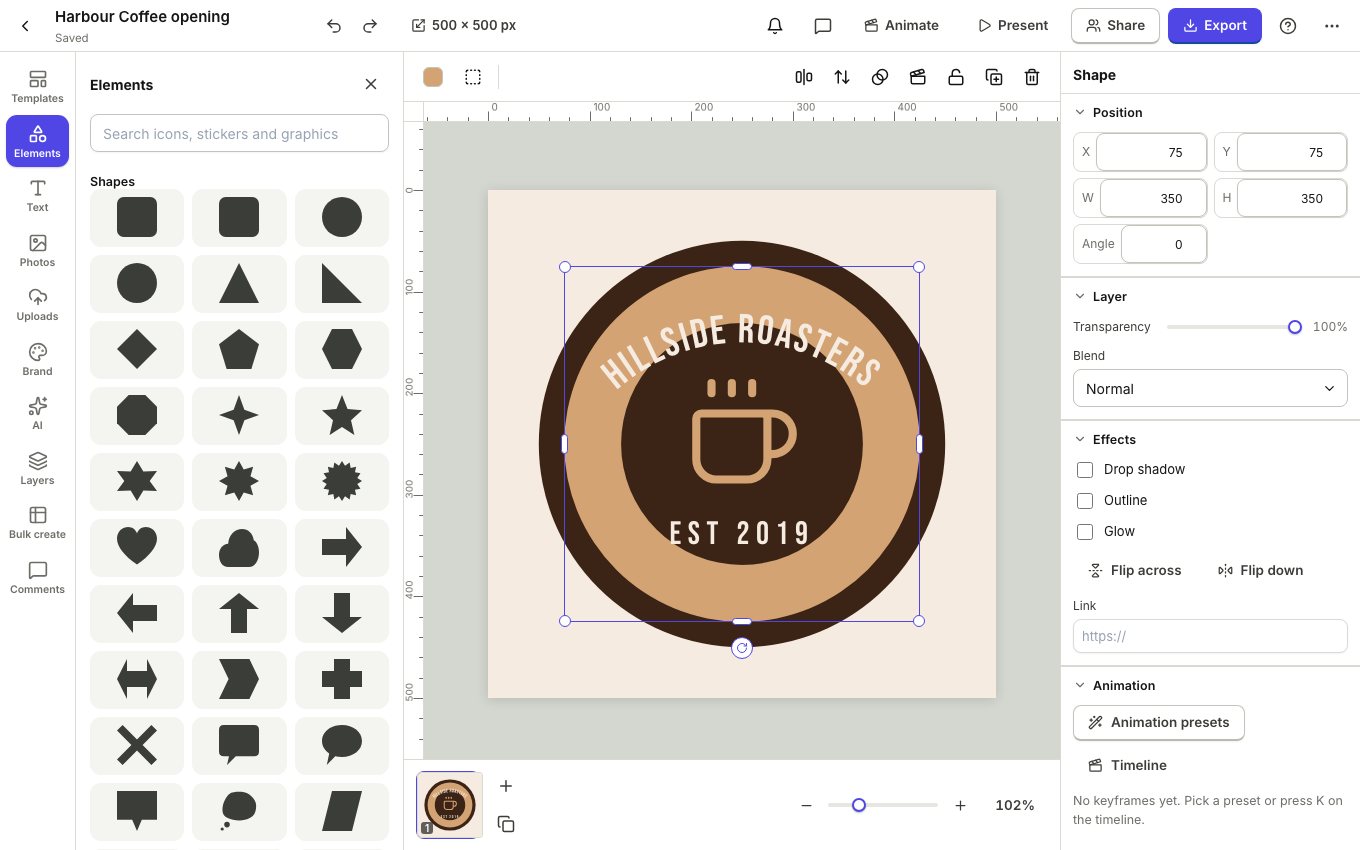
- Open Elements for shapes, lines, frames, grids, icons, stickers, charts, tables and QR codes. Click one to add it, or search at the top.
- Open Photos to search free stock photos, or Uploads to add your own images, videos and music.
- Drag a photo onto a frame or a grid cell to fill it.
Arrange with layers
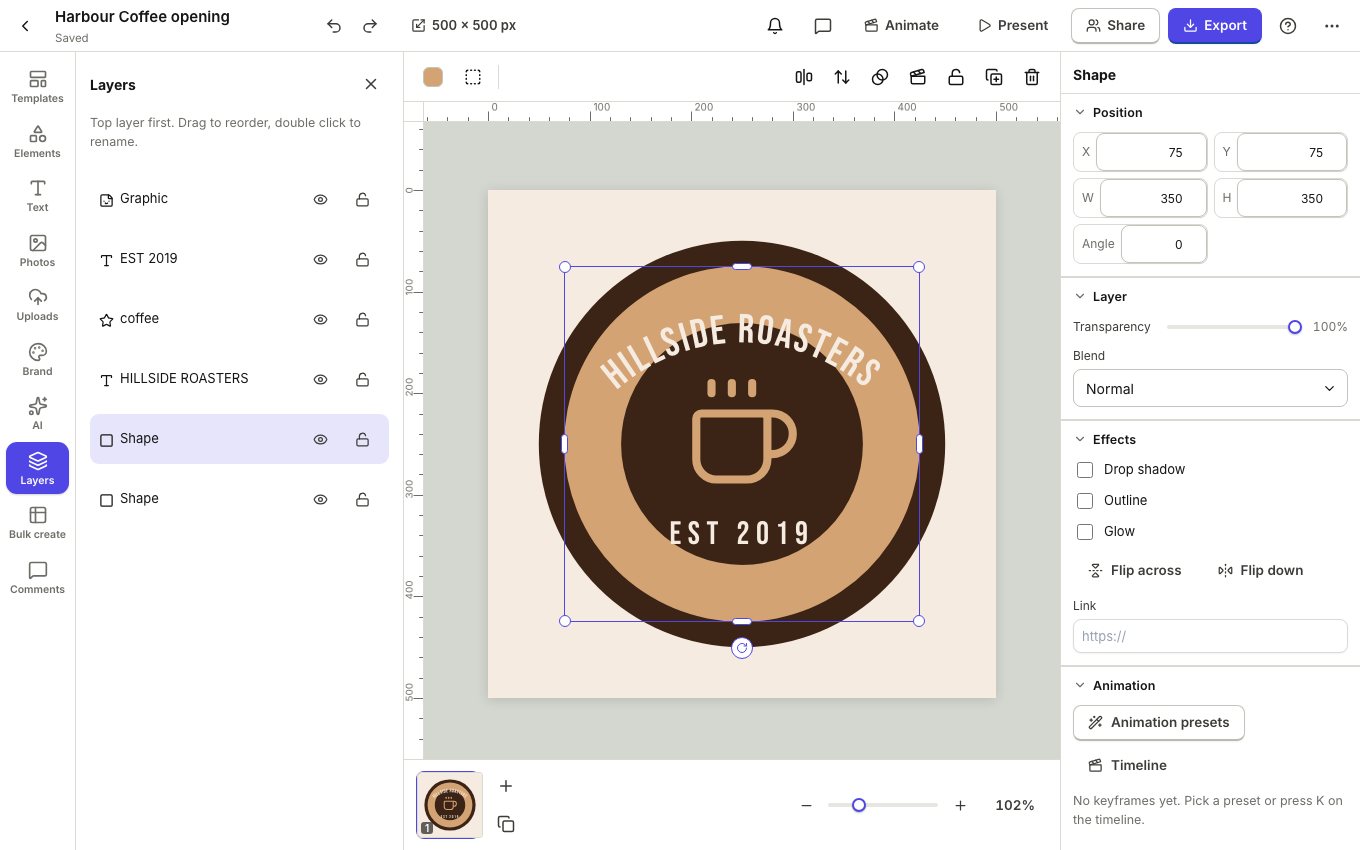
Things on a page sit in layers, the top one in front. Open Layers to see them all: drag to reorder, double click to rename, and use the eye and lock to hide or lock one. Ctrl and G groups what you selected.
Pages
The strip under the page shows every page. Click + to add one, or the copy button to duplicate the current page. Each page can have its own background, length and transition in the properties panel when nothing is selected.
Press ? in the editor for every keyboard shortcut. Undo is Ctrl and Z (Cmd on a Mac).